Showing posts with label Background Tutorial. Show all posts
2

Drip and Swish with Alcohol Inks

I'm very very tired from work today - hard day for me that I can't wait to go home and relax in my craft zone. By the time I'm home Joseph's with me coz I picked him up from school, too. Thank God for a sunny and hot weather this day coz riding the bike was fine as compared to sunny but windy.

I just started doing Joseph's birthday invitations but had to stop and continue tomorrow or maybe later (if I don't fall asleep with Joseph) coz I wanted to play with my alcohol inks.

Materials:
Glossy cardstock
Alcohol inks
Alcohol Blending Solution
Craft Mat

 Gather your materials.

Drip colors of alcohol inks on your craft mat and begin to swish and swish your glossy cardstock.

 These are the backgrounds I was able to make.
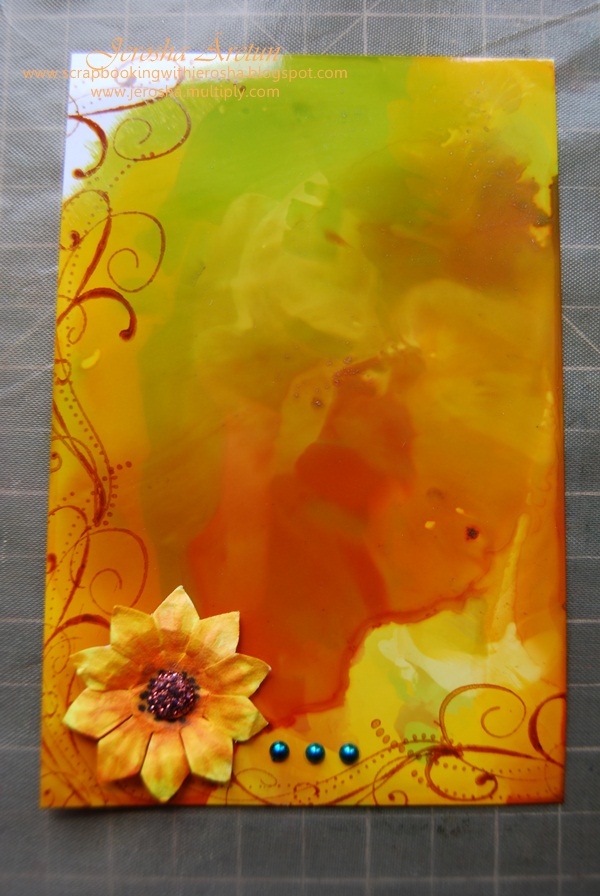
I tried stamping swirls using staz-on ink pads.

I colored a white paper flower with my Copic markers. This I will never do again coz copic markers are very expensive and I got mine from a dear, dear, dear friend and I know how much effort she did just for me to have lots of copic markers.

Then I used pearlmaker to create pearls.
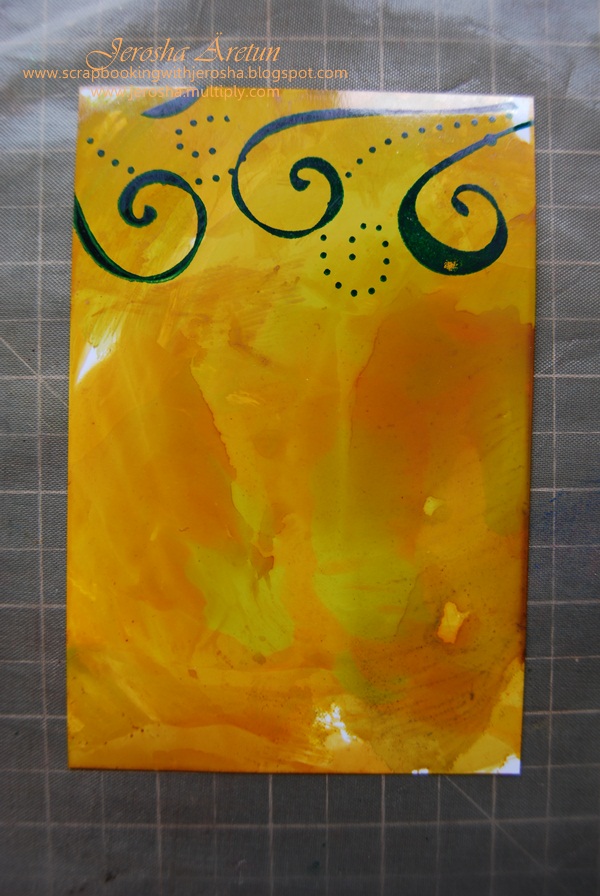
 Just stamping swirls using staz on.
0

Crayola Melt Art

Once again I'm in the mood of sharing a simple tutorial. I'm sure you will remember your elementary or high-school days with this particular tutorial. I'm suppose to start creating Joseph's birthday invitations but not exactly in the mood for that although I have clear ideas in my mind on how to go about. I hear POKEMON inside my head since the other day eager to be released hahahahahahahahahaha. Maybe because I'm free from work this day that I take things easy.

Why crayola this day? I just cleaned Joseph's room and oh my goodness he has a LOT of crayola. It's my fault coz any country we go I buy him materials for crafting plus we get coloring set in every airplane we ride. I actually sneaked out few pieces which I know he will not notice.

Materials:

Crayola
Baking Paper
Iron
Cutter
White Cardstock

Procedure:

Gather your materials (forgot to include the cutter in this shot)

1. Using your cutter scrape some bits and pieces of crayola and just let it fall on your cardstock. It's just ike you don't have a sharpener and you have to sharpen your pencil - the only thing you have is a cutter or knife. Of course you have to make sure that you go around so it's kind'a well distributed all over your cardstock. The more colors you add the better =)

2. Cover using your baking paper.

3. Heat your iron on natural setting and begin to iron until the crayola is melted.

4. Remove gently the baking paper and you will get a nice crayola melt abstract which you can use as background for your layouts or cards =)

 Here's what I made on my first play.

And the second and last play I did.


0

Slide ...or Tap and Press with Ink Pads


As Joseph and I were discussing details about his 7th birthday this coming October 28, it made me realize that he really is a big boy now. Gone are the likings on cutie animals or spiderman so there goes my cute cartridges like create a critters, dinosaur tracks, mini monsters, superman, batman, etc. He likes his birthday theme to be POKEMON (!!!!)

After we have closed the deal that it will be a Pokemon party and that the venue will be at one of the playland here in Uppsala, I started imagining how his invitations would look like plus the give-a-ways. I have so many ideas going in my mind and trying to make a time schedule ... praying that I will be able to send out the invites as scheduled.

While I was just killing time in my craft room ... because Joseph is using my computer - coloring on-line any Pokemon characters hehehehehehehe, I decided to do something that I will share with you and it has something to do with ink pads. For this very simple tutorial I used ranger distress ink pads. I haven't tried using any other ink pads for this project coz I know that ranger distress pads stays wet for a long time.

Materials Needed:

Ranger Distress Ink Pads
Water Sprayer
Cardstock
Teflon mat (don't need to have the branded ones like Ranger/Tim holtz coz the one you use for baking works very well as substitute. In fact, I checked the branded ones and it's so thin as compared to the baking mat)

 Procedure 1

 Slide ink pads directly on your craft / teflon mat. Spray a little with water.

 Press your cardstock and lift.


Procedure 2
try to just tap and press without sliding the ink pads .... creating squares in effect.
Spray a little with water and press your cardstock.


2

Entry #61 - 72 - NCM 2010 : Designing My Own Cardstock

These were part of my entry during The National Craft Month 2010 and I made these designs 22 March 2010.

I had a hard time finding the right cardstock for an 18yr old client but as I've said I was lucky to find a pack of cardstock from a craft store that is a copy of one of her gown's fabric. It dawned on me that in many cases we can actually design our own cardstock using stamps, stencils, free-hand drawing / doodling or left-over cuts especially from Cricut play =)

Armed with Zig colored pens given to me by a dear fellow crafter ..... some acrylic paints .... stamps ... rollers .... stencils I got free ... and of course imagination, I started designing some 12 x 12 kuretake cardstocks by

1.  coloring after using stencils with the use of craft chalks, markers
2.  freehand drawing then colored with markers or watercolors
3.  just doodling around with flowers and swirls
4.  played with different kinds of roller brushes.
5.  Since I saved most of my cricut cuts, I decided to use those, too.
6.  And of coures the best part is using stamps =)

Maybe to some my cardstocks are too plain but rest assured when I plan to make a LO, the cardstocks will be filled with stuffs. So for now it's juts as is and will check some pictures that I have that suits each cardstock.


Back to Top