
Why crayola this day? I just cleaned Joseph's room and oh my goodness he has a LOT of crayola. It's my fault coz any country we go I buy him materials for crafting plus we get coloring set in every airplane we ride. I actually sneaked out few pieces which I know he will not notice.
Materials:
Crayola
Baking Paper
Iron
Cutter
White Cardstock
Procedure:

Gather your materials (forgot to include the cutter in this shot)

1. Using your cutter scrape some bits and pieces of crayola and just let it fall on your cardstock. It's just ike you don't have a sharpener and you have to sharpen your pencil - the only thing you have is a cutter or knife. Of course you have to make sure that you go around so it's kind'a well distributed all over your cardstock. The more colors you add the better =)
2. Cover using your baking paper.
3. Heat your iron on natural setting and begin to iron until the crayola is melted.
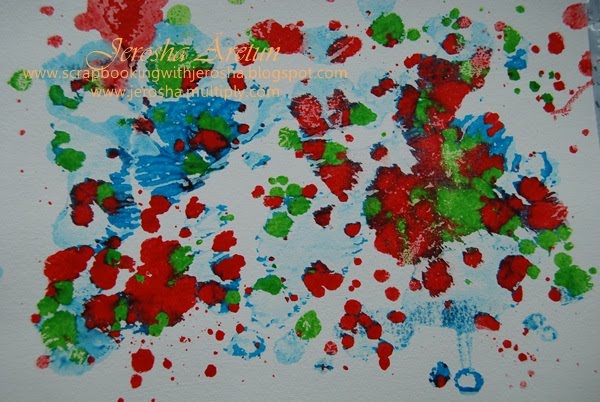
4. Remove gently the baking paper and you will get a nice crayola melt abstract which you can use as background for your layouts or cards =)
2. Cover using your baking paper.
3. Heat your iron on natural setting and begin to iron until the crayola is melted.
4. Remove gently the baking paper and you will get a nice crayola melt abstract which you can use as background for your layouts or cards =)

Here's what I made on my first play.
And the second and last play I did.
 Posted by


0 comments:
Post a Comment